Turning these 6 iPhone camera settings on that are switched off by default will transform how you use it


Your iPhone camera is capable of taking seriously impressive photos, but some of its most useful features aren’t switched on by default.
A few simple changes buried in the settings can give you more control over everything from image quality to focus and exposure.
Some can even change the way your selfies look.
Here are six iPhone settings worth changing if you want to get more out of your phone photos.
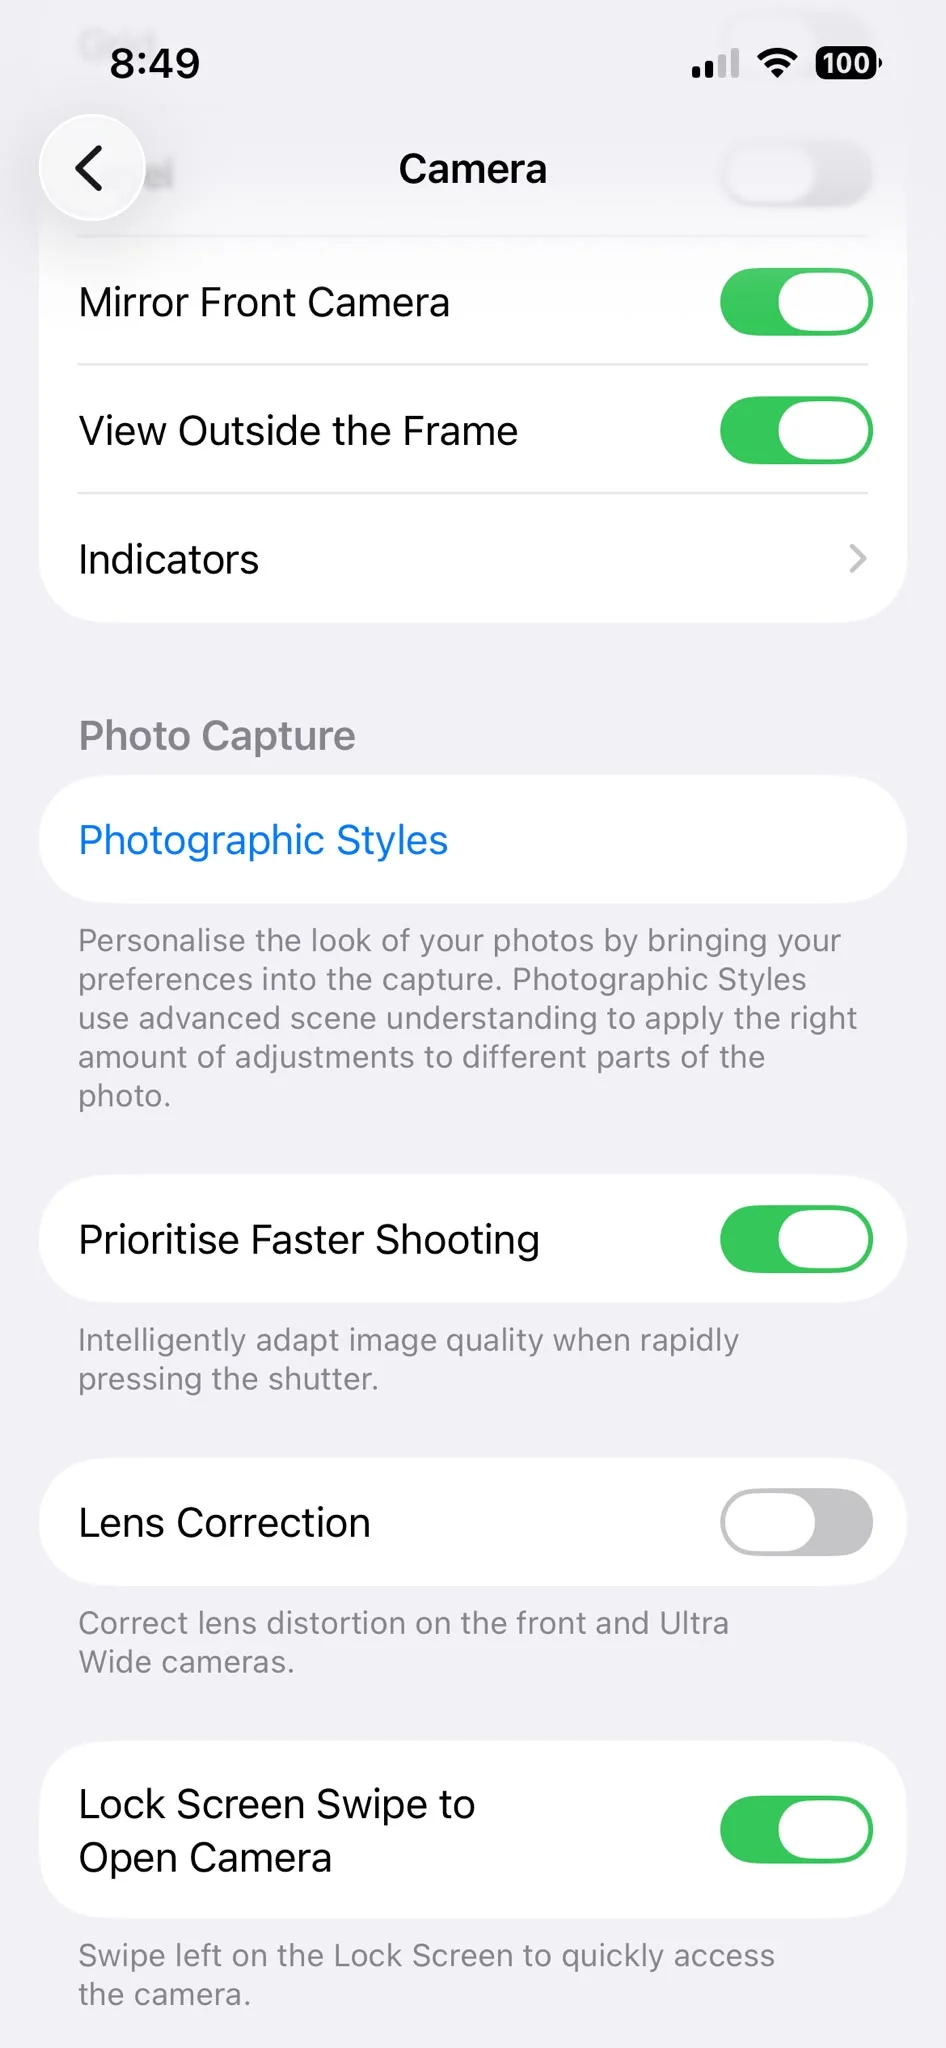
1. Turn off lens correction
The iPhone automatically applies lens correction to photos taken with certain cameras, including the ultra-wide and front-facing ones on your Apple gadgets.
If you want to see what you actually captured without this automatic adjustment, head to Settings, Camera, and turn off Lens Correction.
It is worth experimenting with both options to see which look you prefer, particularly when shooting with the ultra-wide setting.
2. Switch to 48MP
If you have an iPhone with a 48MP setting, you can take advantage of the extra resolution for photos with significantly more detail.
You can enable the high-resolution option through Settings, Camera, and Formats, although exactly what you see will depend on your iPhone model.
The downside is that higher-resolution photos take up more storage, so you may want to save 48MP for shots where the extra detail really matters.
3. Lower the exposure manually
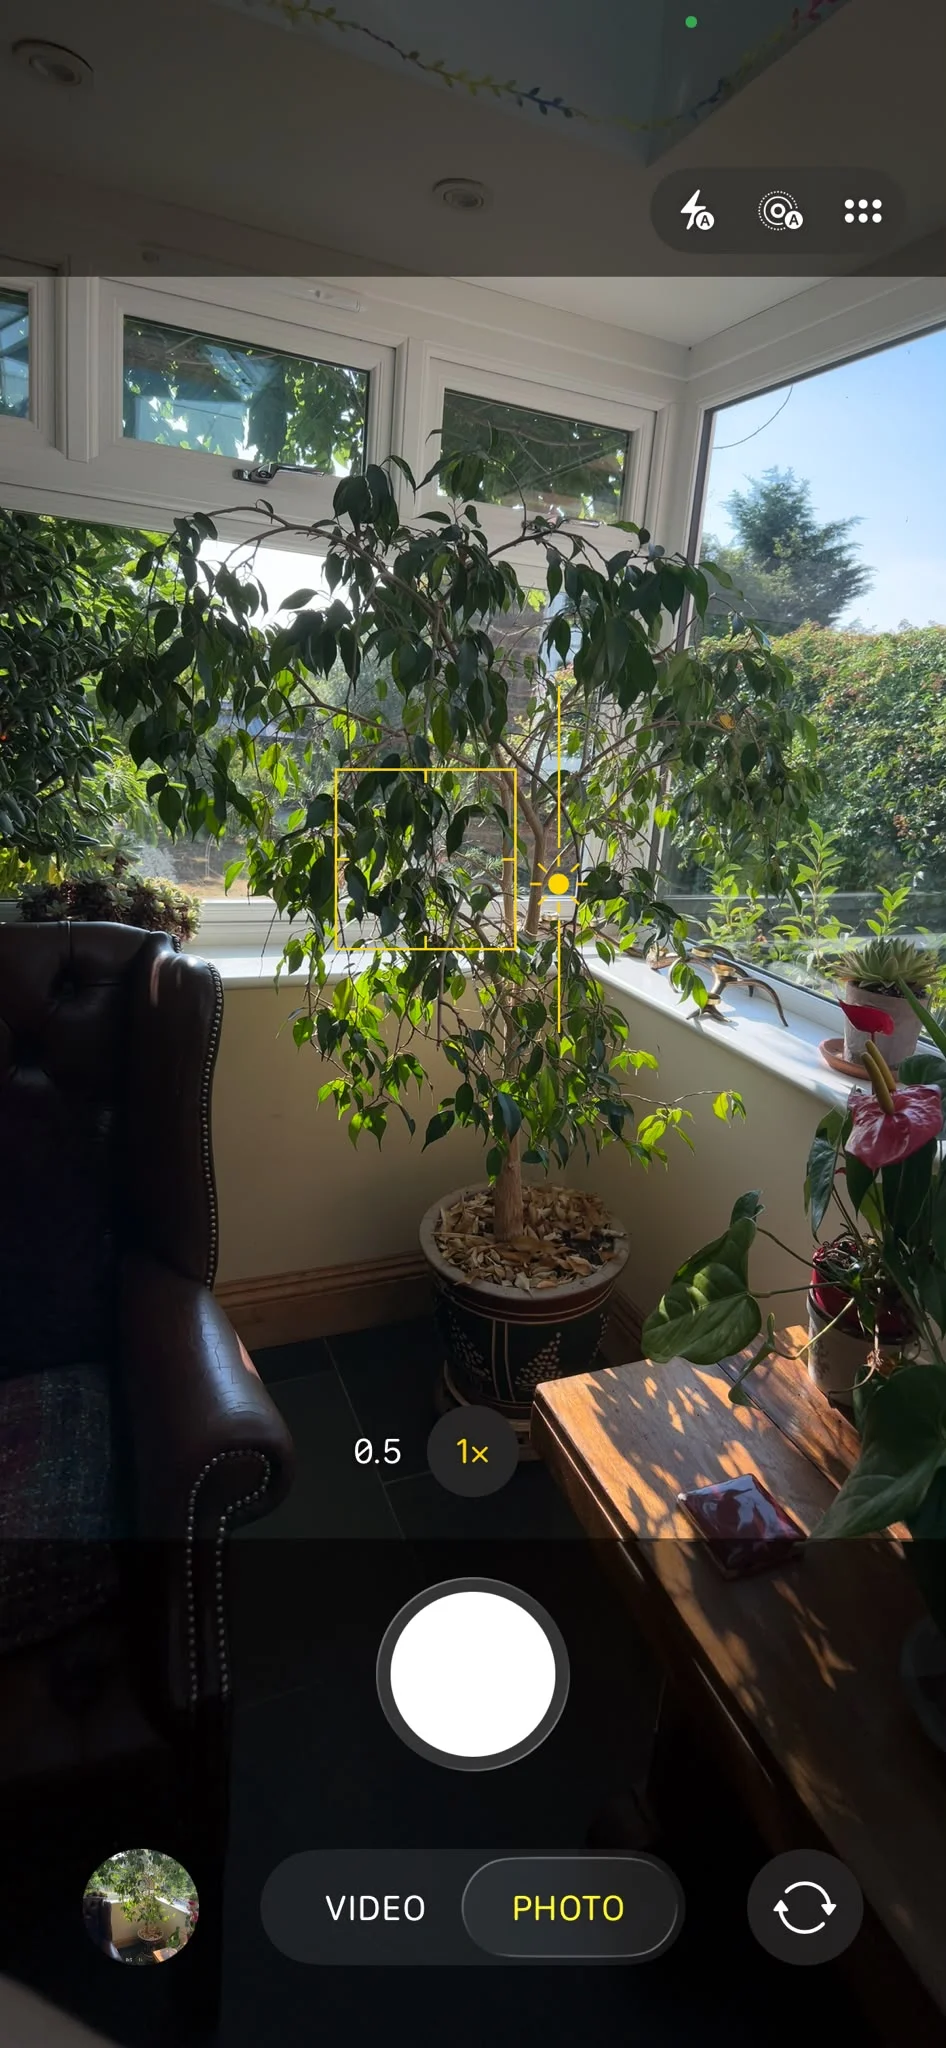
Your iPhone’s automatic exposure can sometimes make bright scenes look washed out, particularly when there is a lot of sunlight in the frame.
Thankfully, you can take control yourself. Tap on your subject, then drag the exposure slider with the sun icon down to darken the image before taking the shot.
It can help preserve detail in bright areas while also giving your photos a more dramatic look.
4. Turn on ProRAW
Owners of compatible Pro models have another powerful option hidden away in the settings: Apple ProRAW.
ProRAW gives you much more information to work with when editing a photo, making it particularly useful if you like adjusting exposure, color and other elements after taking the shot.
You can turn it on through Settings, Camera and Formats, although RAW files are much larger than standard photos, so you’ve got to keep your memory in mind.
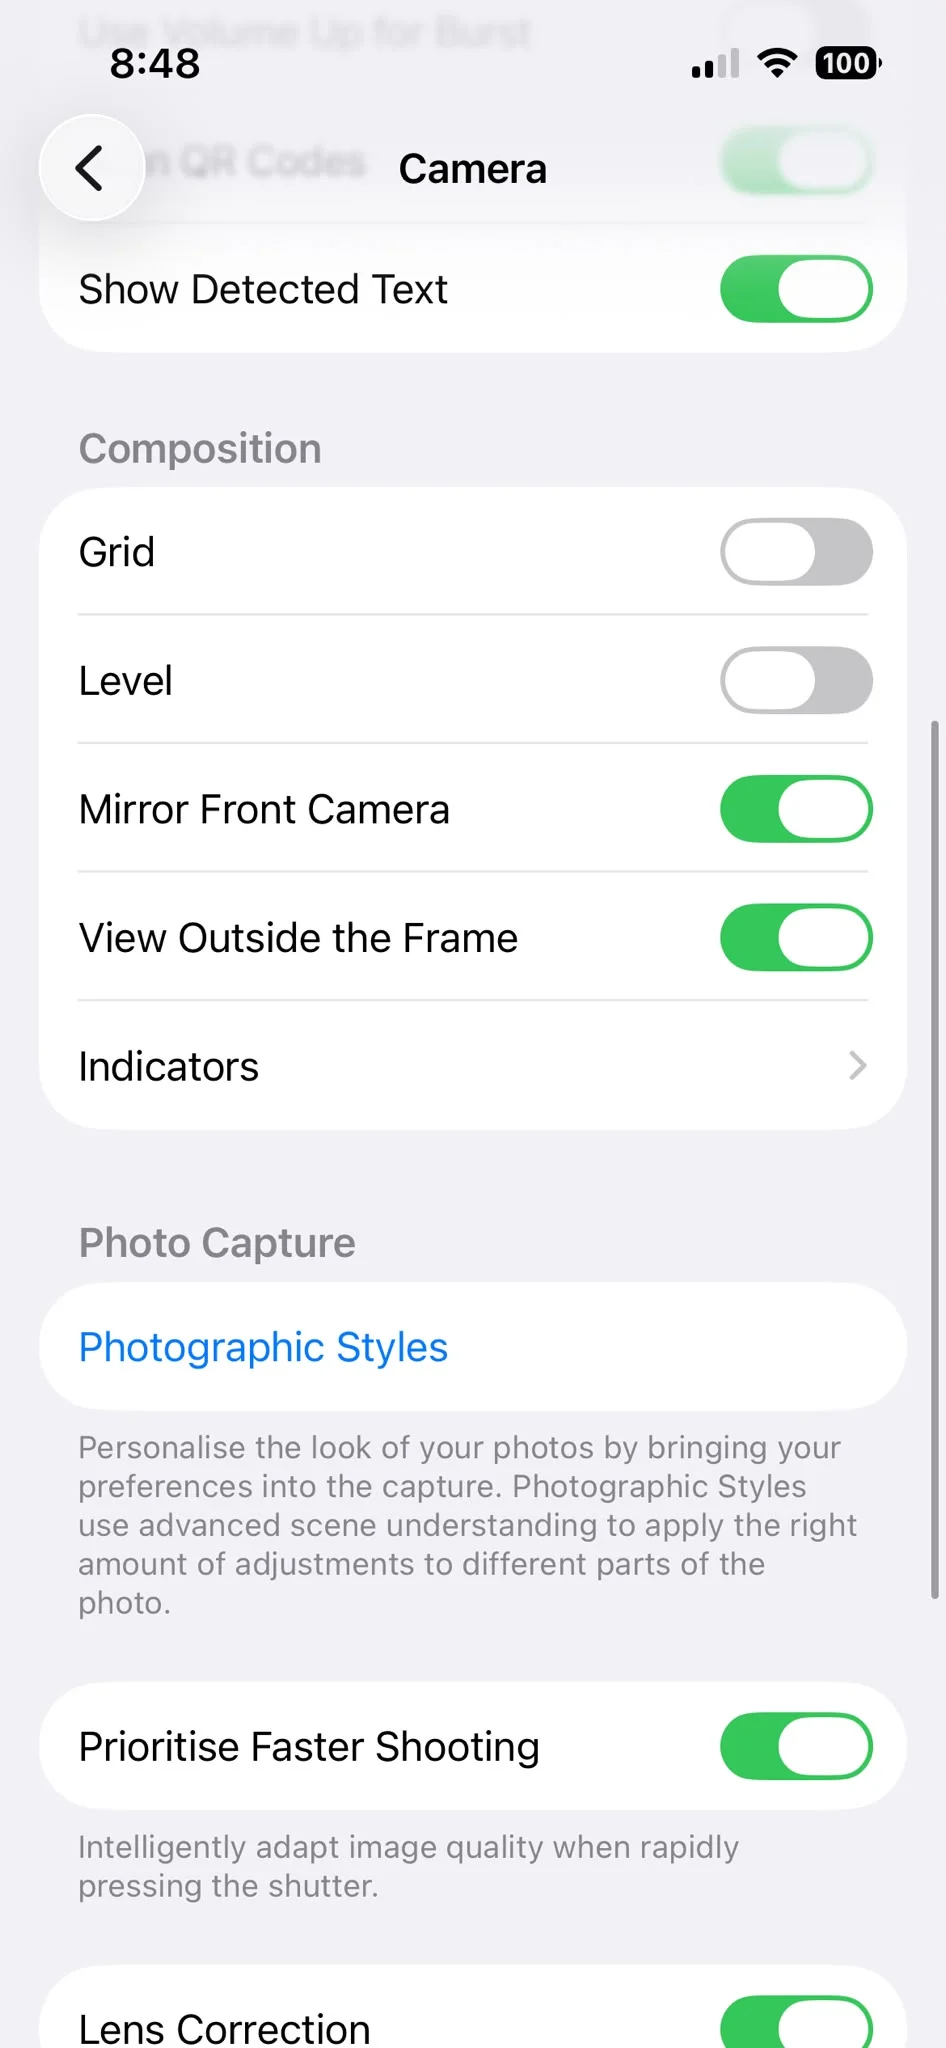
5. Un-mirror your iPhone selfies
There is a simple reason your selfies can sometimes look different after you take them.
The front camera preview can show you a mirrored version of the image, while the saved photo may be flipped the other way.
Head to Settings, Camera and look for Mirror Front Camera to control how your selfies are saved.
It is a small change, but it can make a noticeable difference if you want your finished photos to look like the preview.
6. Lock the focus before you shoot on iPhone
Your iPhone constantly adjusts focus and exposure to work out what it thinks you want to photograph.
That is useful most of the time, but it can become annoying when your subject keeps moving or the camera keeps jumping between different objects.
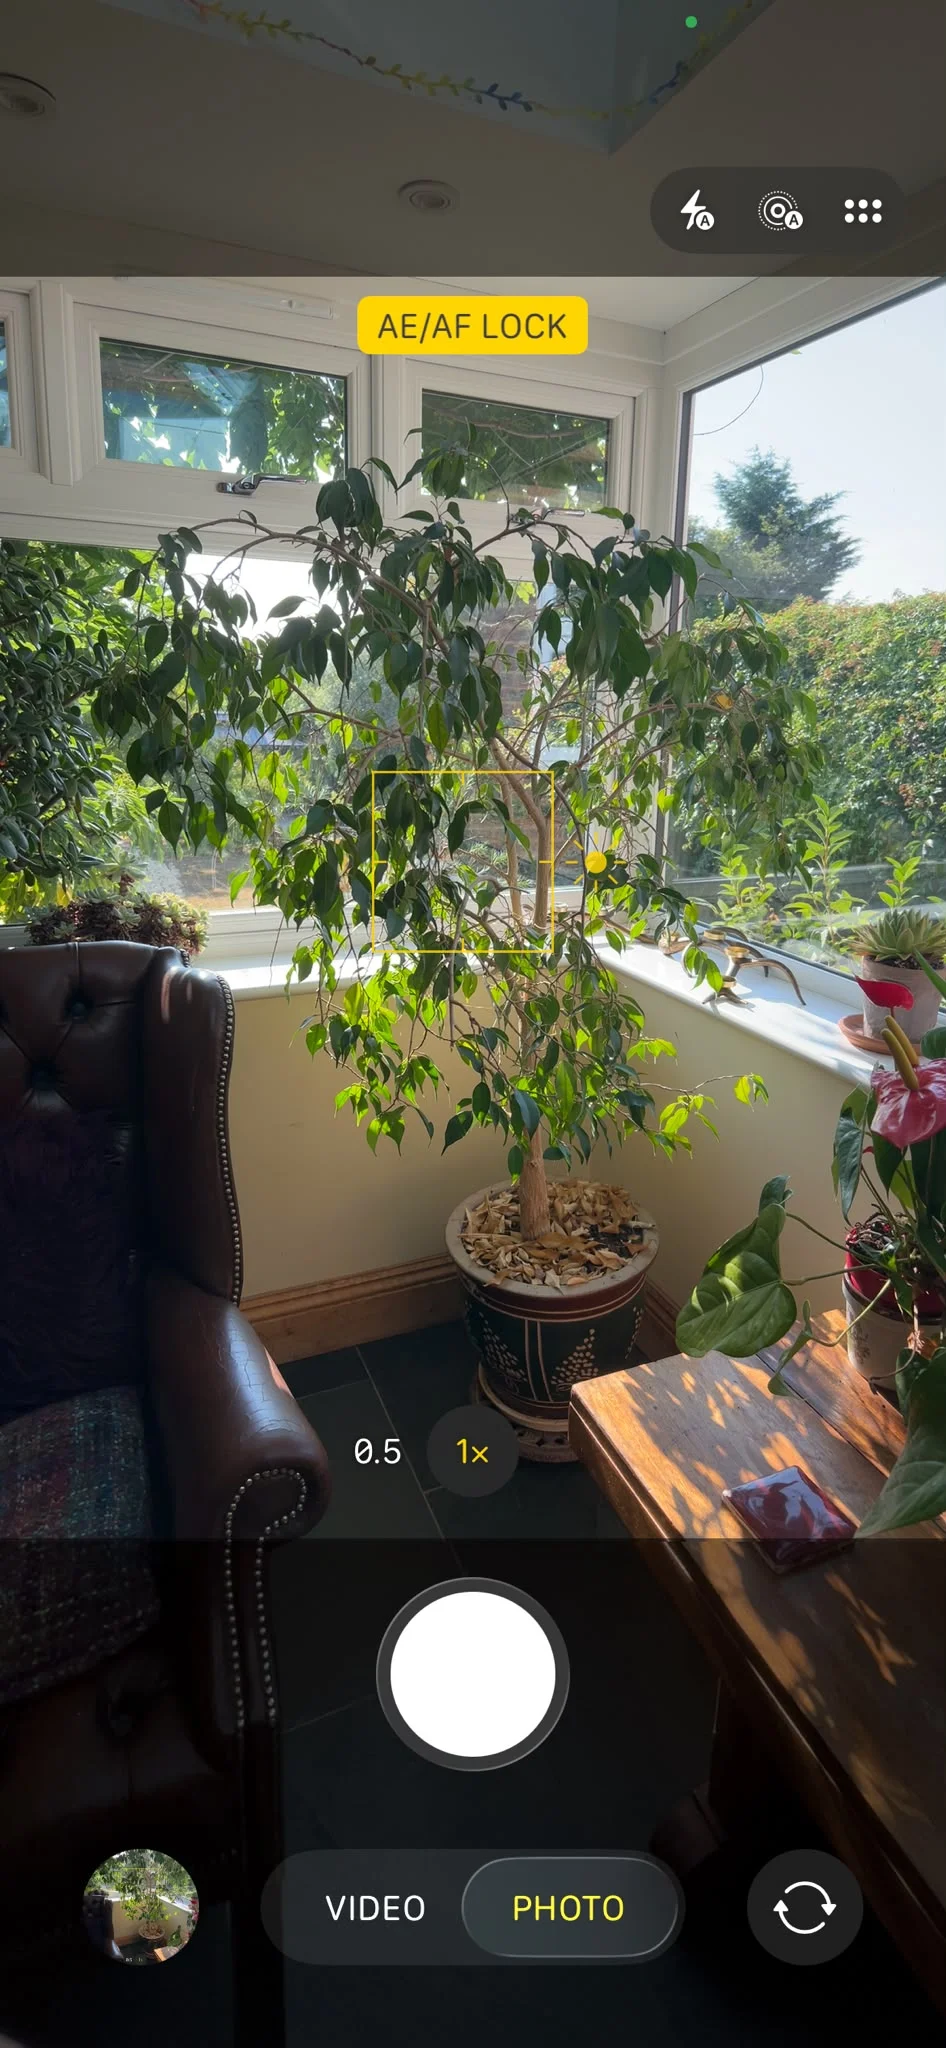
Tap and hold on your subject until AE/AF Lock appears, and the camera will stop automatically changing the focus and exposure. This gives you much more control and can make it easier to get the shot you actually wanted.
Once you have changed these six settings, you might find your iPhone camera feels like a completely different tool.